Agent Access Token
To allow the flexibility of using an agent without requiring the user to be authenticated using Entra ID credentials, you can create an Agent Access Token. This is particularly useful for public applications that want to provide access to the agent without requiring users to log in with their Entra ID credentials.
How to create an Agent Access Token
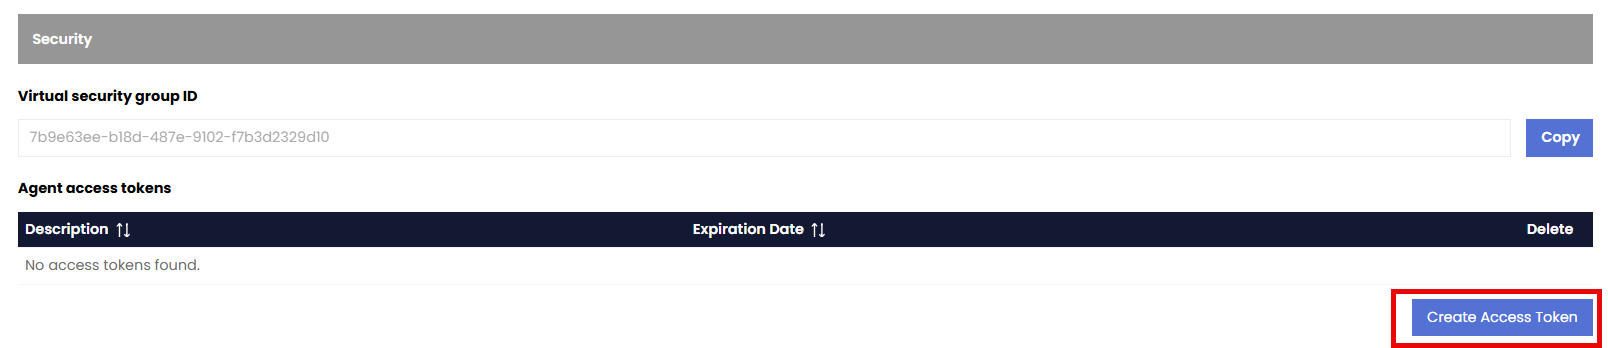
In the Security section of the agent configuration, click on the Create Access Token button to create a new access token.
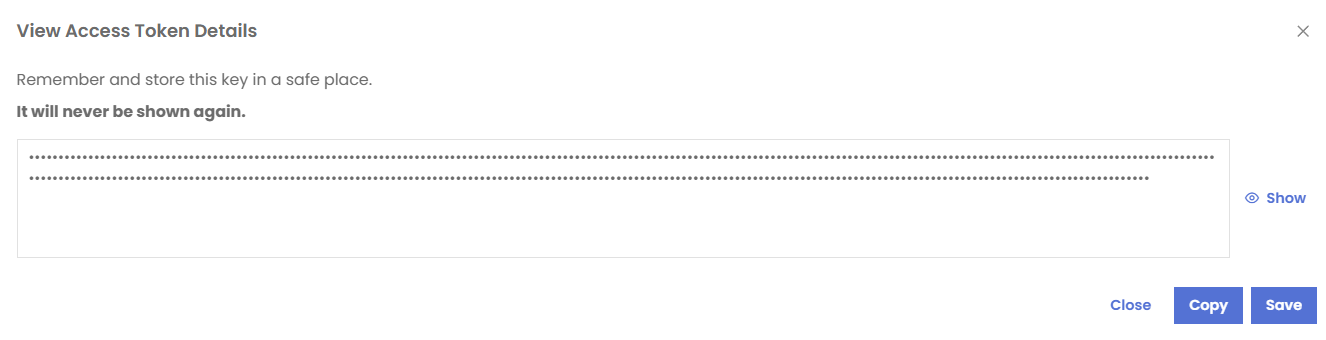
In the Create Access Token dialog, enter a description for the access token and an expiration date then click on the Create Access Token button.

The access token will be created and displayed in a dialog, make sure to save it or copy it for future use.
Assigning permission to the new Virtual Security Group ID of the agent
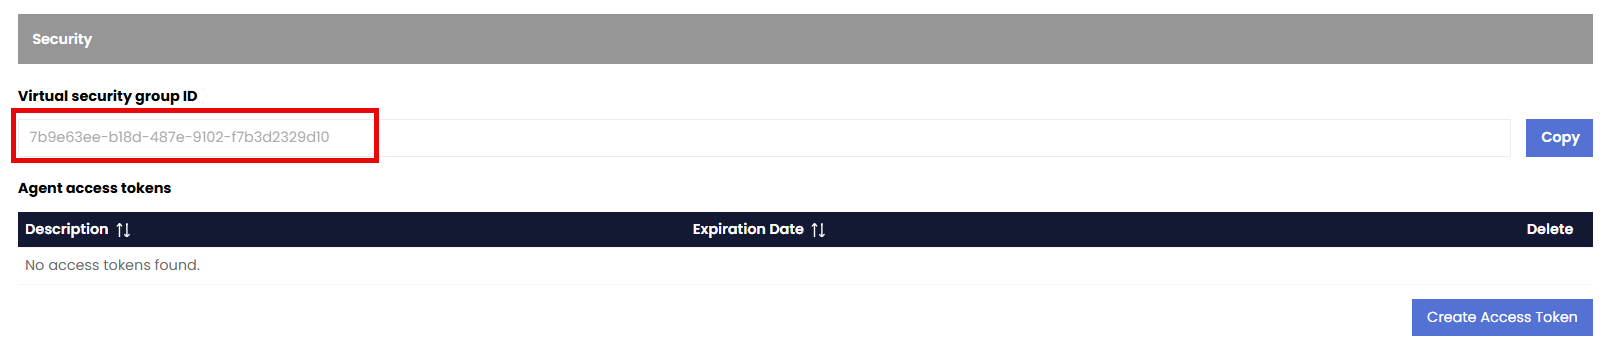
Copy the GUID of the new Virtual Security Group ID of the agent.
At the top of the page while editing the agent, click on the Access Control.

In the Access Control page, click on the Add Role Assignment for this resource button.
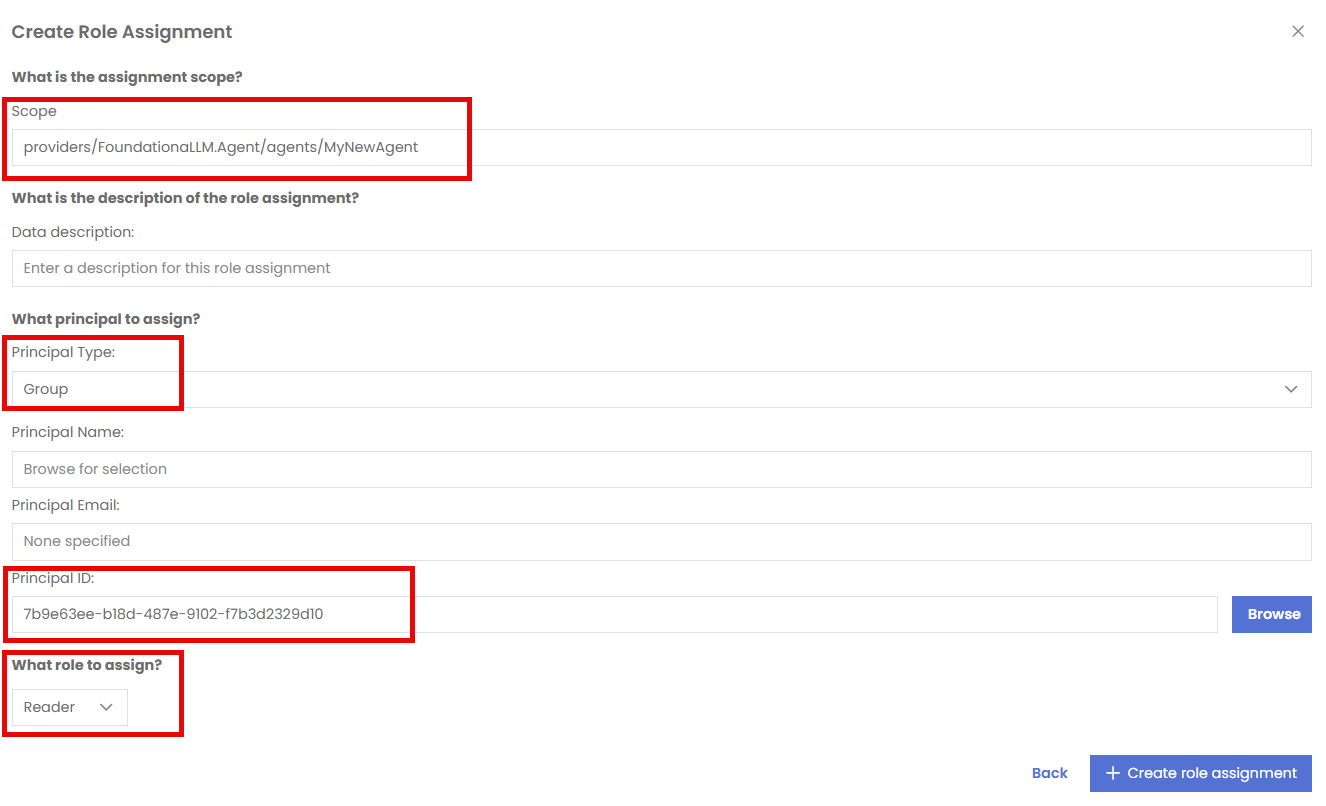
Verify that the Scope is set to
providers/FoundationaLLM.Agent/agents/{agent_name}.Choose Group as the Prinicipal Type.
Paste the GUID of the new Virtual Security Group ID of the agent in the Principal ID field.
Choose Reader as the Role to assign.
Accessing the agent using the Agent Access Token
To share an example of how to use the Agent Access Token, we will use the API collection from POSTMAN that is publicly available and part of the FoundationaLLM documentation.
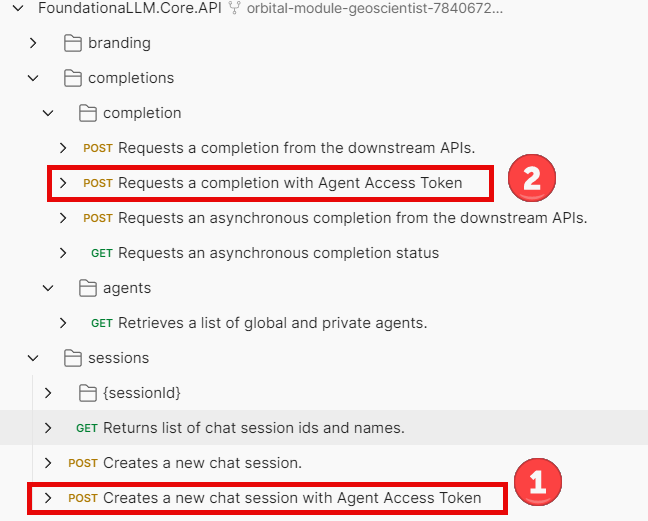
There are two steps required to use the agent using the Agent Access Token in POSTMAN by accessing the FoundationaLLM.Core.API collection:
Under sessions, pick the POST Creates a new Chat session with Agent Access Token
Under completions, expand completion and pick POST Requests a completion with Agent Access Token
You have to start with the Creates a new Chat session with Agent Access Token request to create a new chat session as the request for completion requires a sessionId.
Start by setting the Authorization type to
No Auth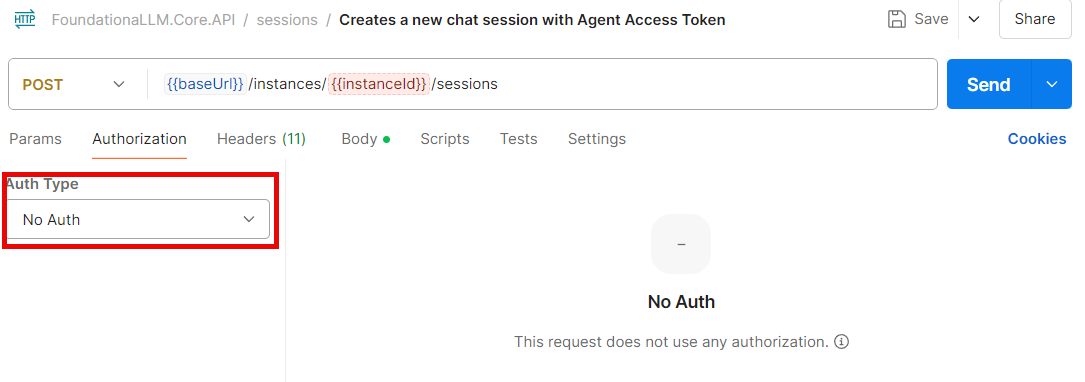
On the Headers tab, set a new key X-AGENT-ACCESS-TOKEN with the value of the Access Token that you were asked to save or copy previously
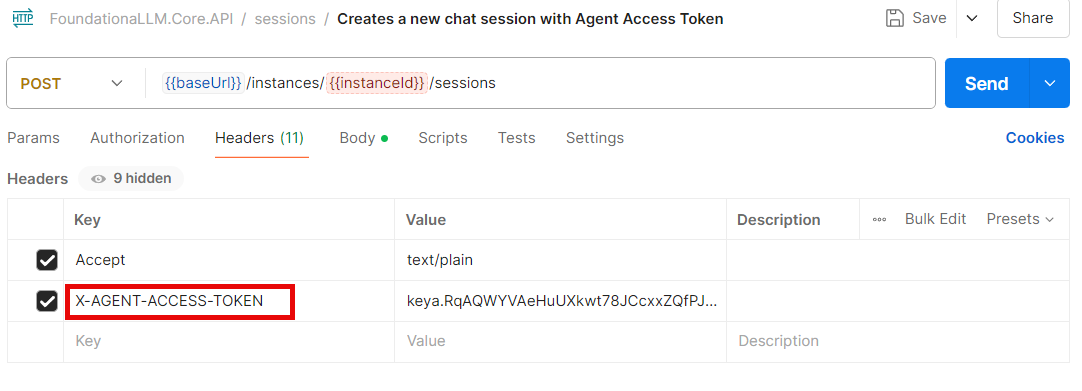
On the Body tab, enter a name for your chat conversation session in the name key in raw JSON format

Click on the Send button to send the request and save the sessionId from the response as it will be needed in the next step.
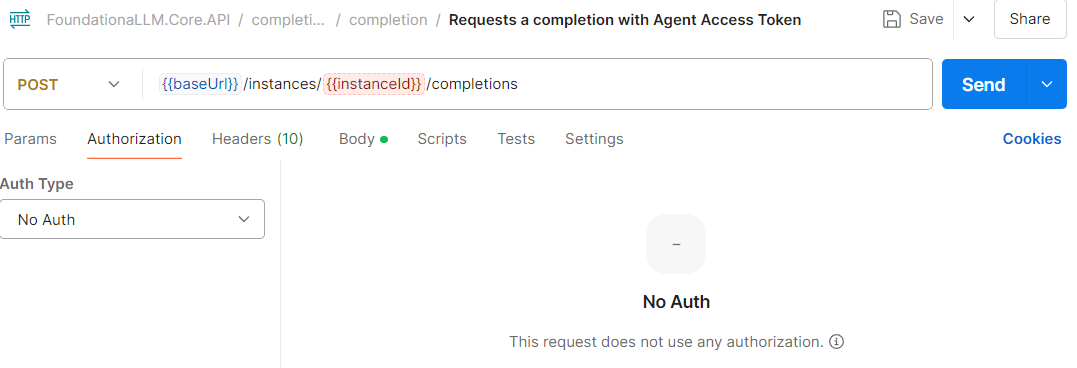
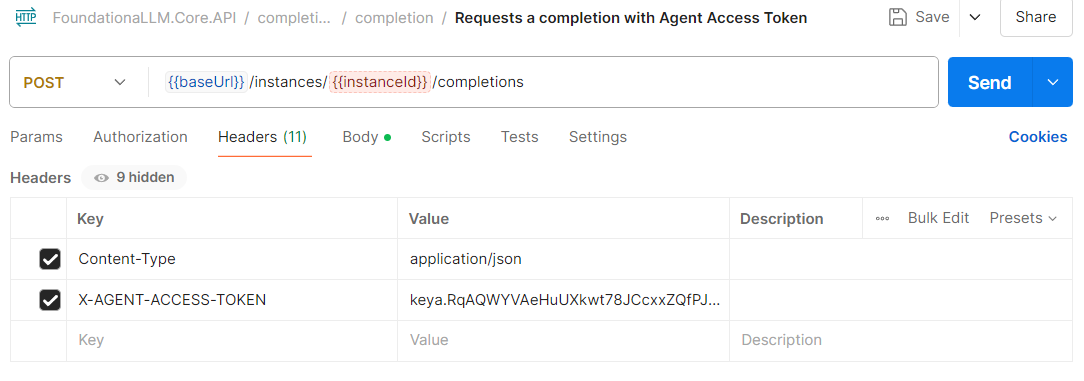
The next step is to POST to the completion endpoint to get a response from the agent utilizing the sessionId received in the previous step.
1- Set the Authorization type to No Auth
2- On the Headers tab, set a new key X-AGENT-ACCESS-TOKEN with the value of the Access Token that you were asked to save or copy previously
3- On the Body tab, enter the sessionId received in the previous POST in the sessionId key in raw JSON format
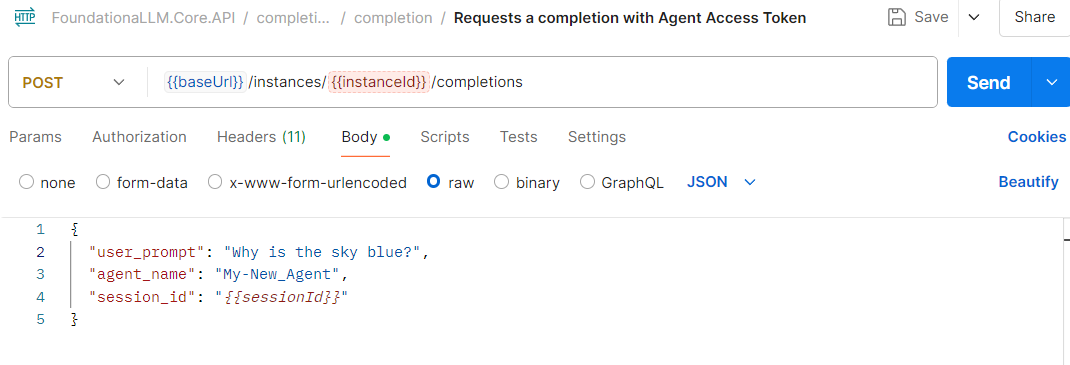
4- Click on the Send button to send the request and receive a response from the agent explaining why the sky is blue.